

Owl Platform Build Comments
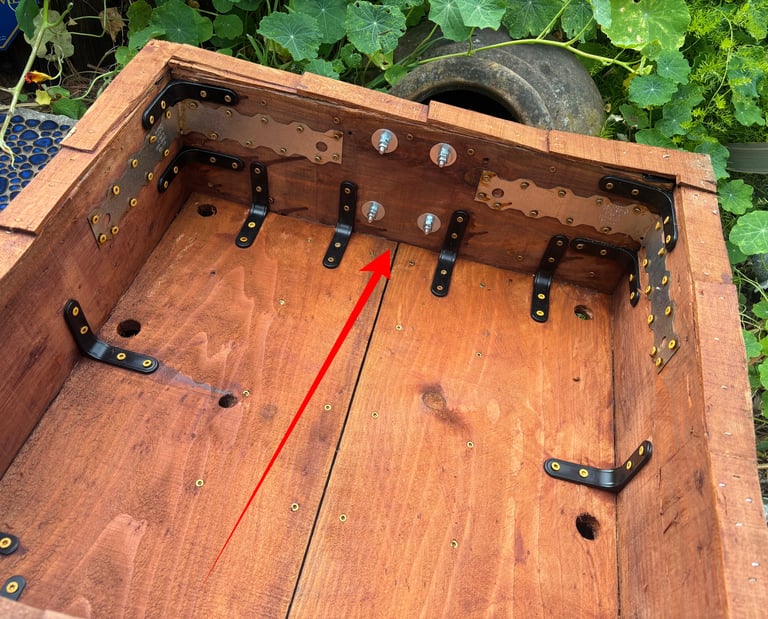
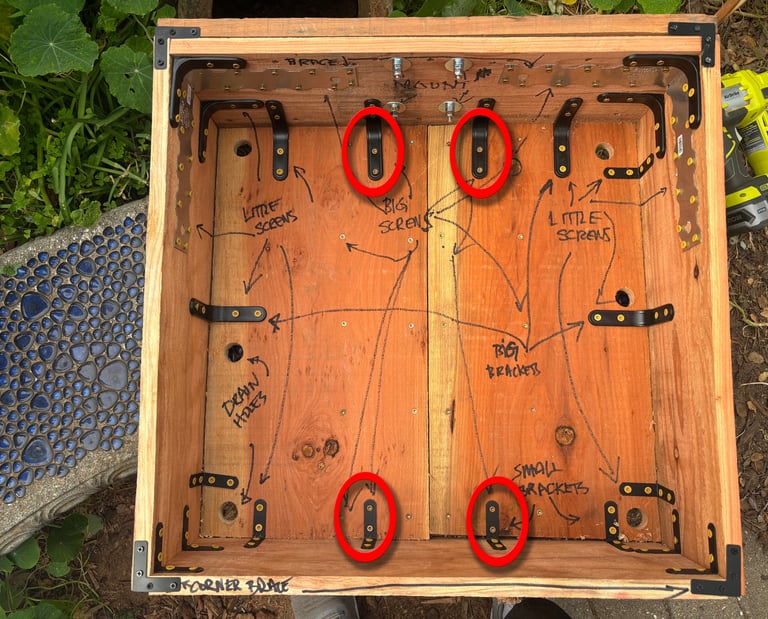
The exterior tree mount has 4 sets of a wide washer, lock washer, nut, and lock nut to ensure that vibration over 30 years does not loosen it. Two right-angle framing braces are screwed in with 1 1/4" coarse-thread wood screws. The large 3" right-angle edge braces populate the side of the platform nearest the tree mount, where the shearing forces are the greatest. Flat L-shaped braces sit atop each corner.
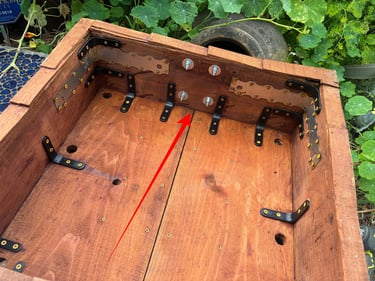

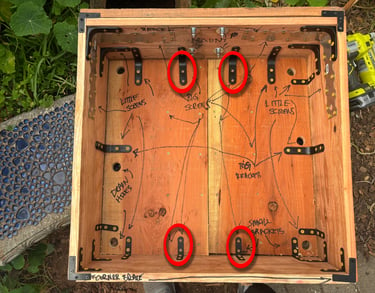
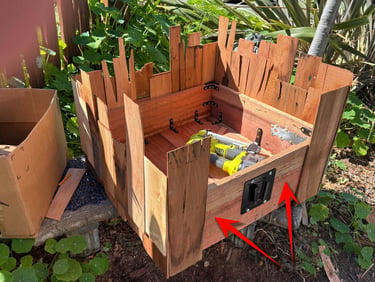
The view from above clearly shows the positioning of the larger 3" right-angle braces versus the 2" braces. Notice the red arrow, which shows the direction of the center redwood plank seam that runs perpendicular to the external tree mount.
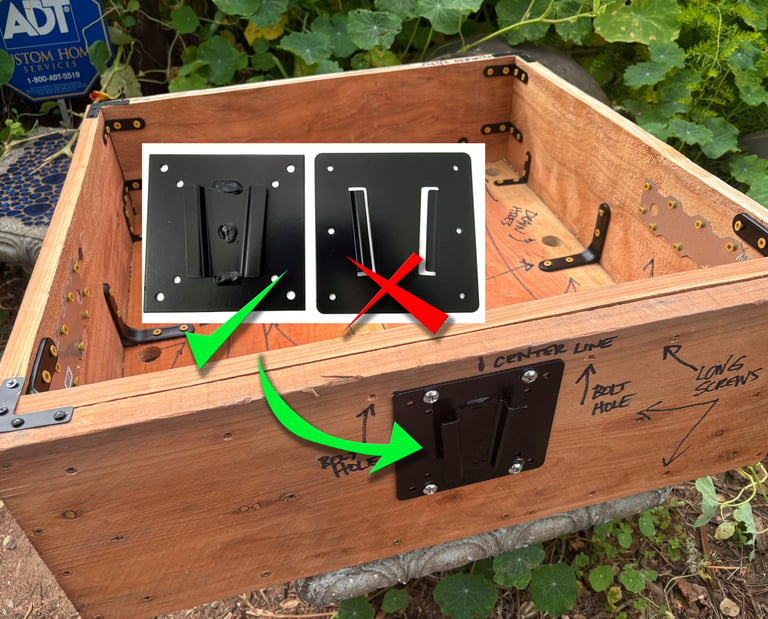
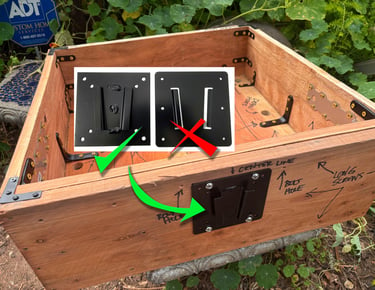
The male tree mount on the exterior of the owl platform is in a "v" position with the pointed end lower. This is crucial as it must engage with the female mount on the tree by sliding the owl platform downwards.
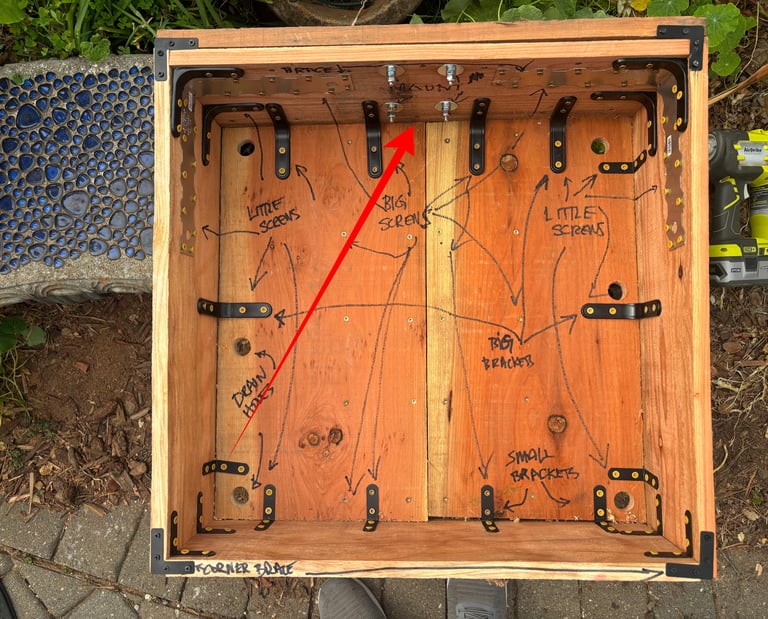
Check out the black marker comments, including the placement of six 1" width holes drilled through the owl platform floor to ensure proper rain drainage. The red circled screws are the longer 1 1/4" length due to the two planks' depth.
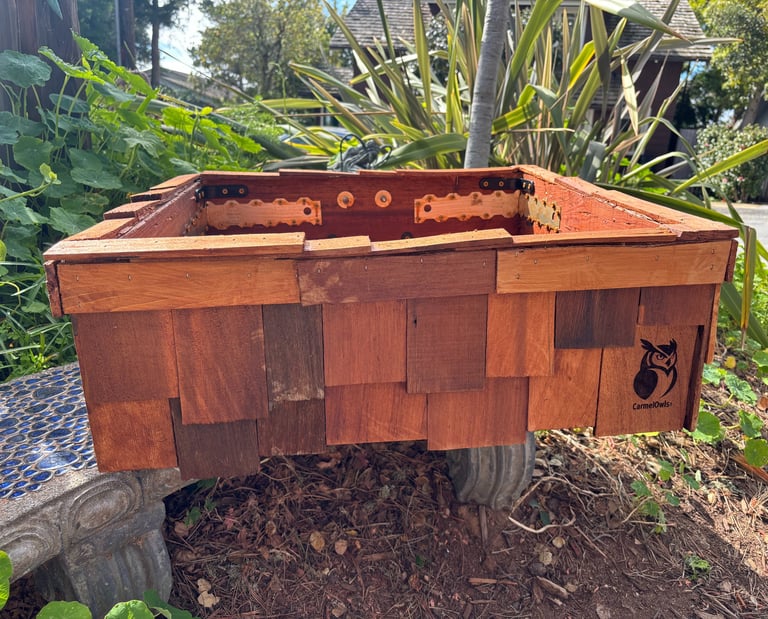
Cedar shingles are added to each side in a staggered pattern. No shingles are placed near the tree mount as this would stop the mounts from engaging.
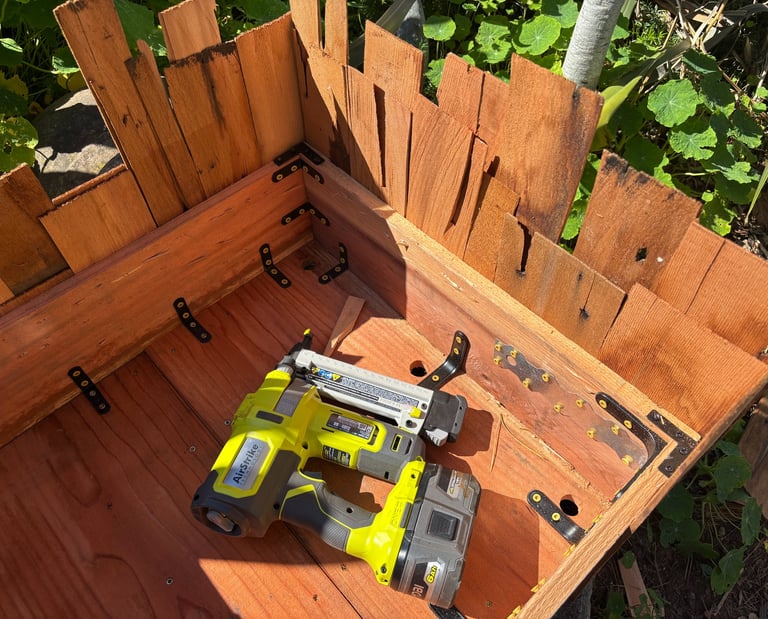
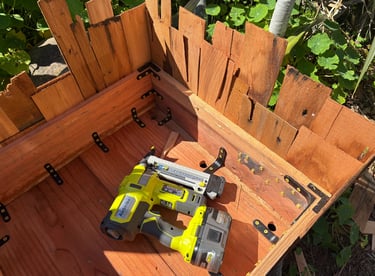
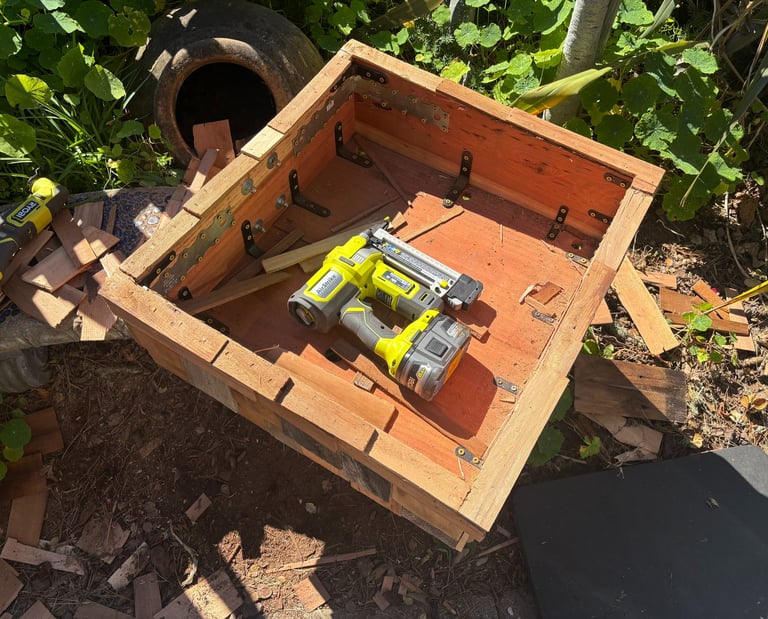
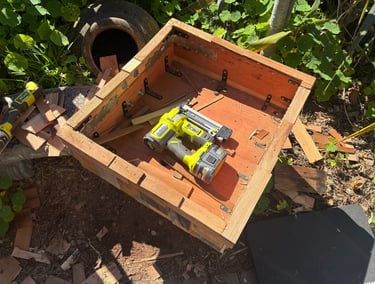
The 18-gauge Ryobi Airstrike gun is shown using 1" narrow crown staples.
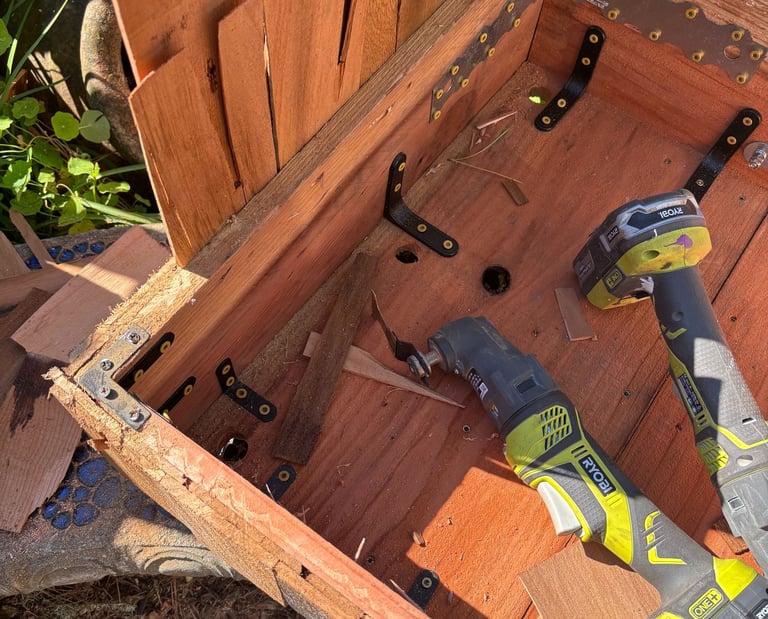
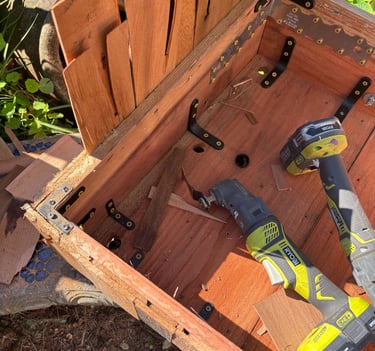
The extended cedar shingles are cut simply with an oscillating multitool to sit flush with the lip.

Overlapping cedar shingle strips are placed along the topsides to cover the staple nailing pattern, then trimmed back with the multitool.
Cedar shingles are then placed flat atop the lips in a staggered overlapping pattern and then trimmed back to blend with the inside wall. Some of the staples may have pierced through the wall, so be sure to snip them back with metal cutters as required or just tap the protruding ends with a hammer.